Input Devices
MNT Reform comes with a keyboard and either a trackball or a trackpad preinstalled. All of the input devices are modular and can be swapped in and out. They all connect via internal USB 2.0 cables.
Keyboard
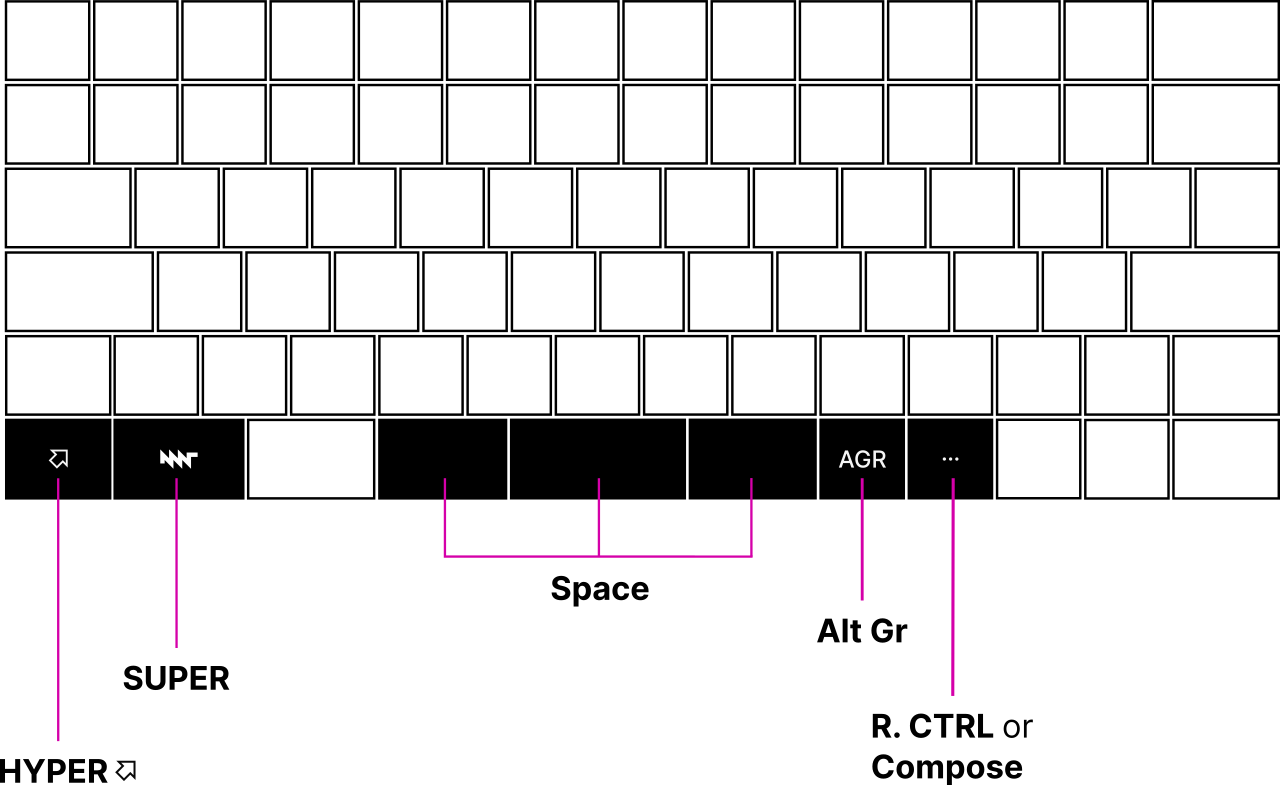
With our newest keyboard [1], we designed in all necessary concave keycap sizes to achieve a traditional stagger, and a contiguous convex space bar which is easier on the thumbs. It is still split, but you can hit it without even thinking about it. If you’re an advanced user, you can also remap two of these space keys. Additionally, we included two homing keycaps to improve navigation while touch typing.
Because many advanced users remap the traditional Caps Lock key to a different function, we swapped Caps Lock for a CTRL key. This makes the use of CTRL key combinations more ergonomic.
Next to the new AGR key—short for “Alternate Graphic”, located next to the space bar—is a key with 3 dots (an ellipsis). It is intended as a user-defined key, which is mapped to Right CTRL by default. We recommend remapping this key to Compose, a key that allows you to generate Unicode symbols from Compose sequences.
Lastly, MNT Reform features an additional modifier key, the HYPER key, in the lower left. HYPER provides an additional layer of key combinations. Here is the list of shortcuts you can use with HYPER:
Shortcut |
Function |
|---|---|
HYPER+F1 |
Decrease Brightness |
HYPER+F2 |
Increase Brightness |
HYPER+F7 |
Previous Track |
HYPER+F8 |
Play |
HYPER+F9 |
Next Track |
HYPER+F10 |
Silent |
HYPER+F11 |
Volume Down |
HYPER+F12 |
Volume Up |
HYPER+← |
Home |
HYPER+→ |
End |
HYPER+↑ |
Page Up |
HYPER+↓ |
Page Down |
Trackball
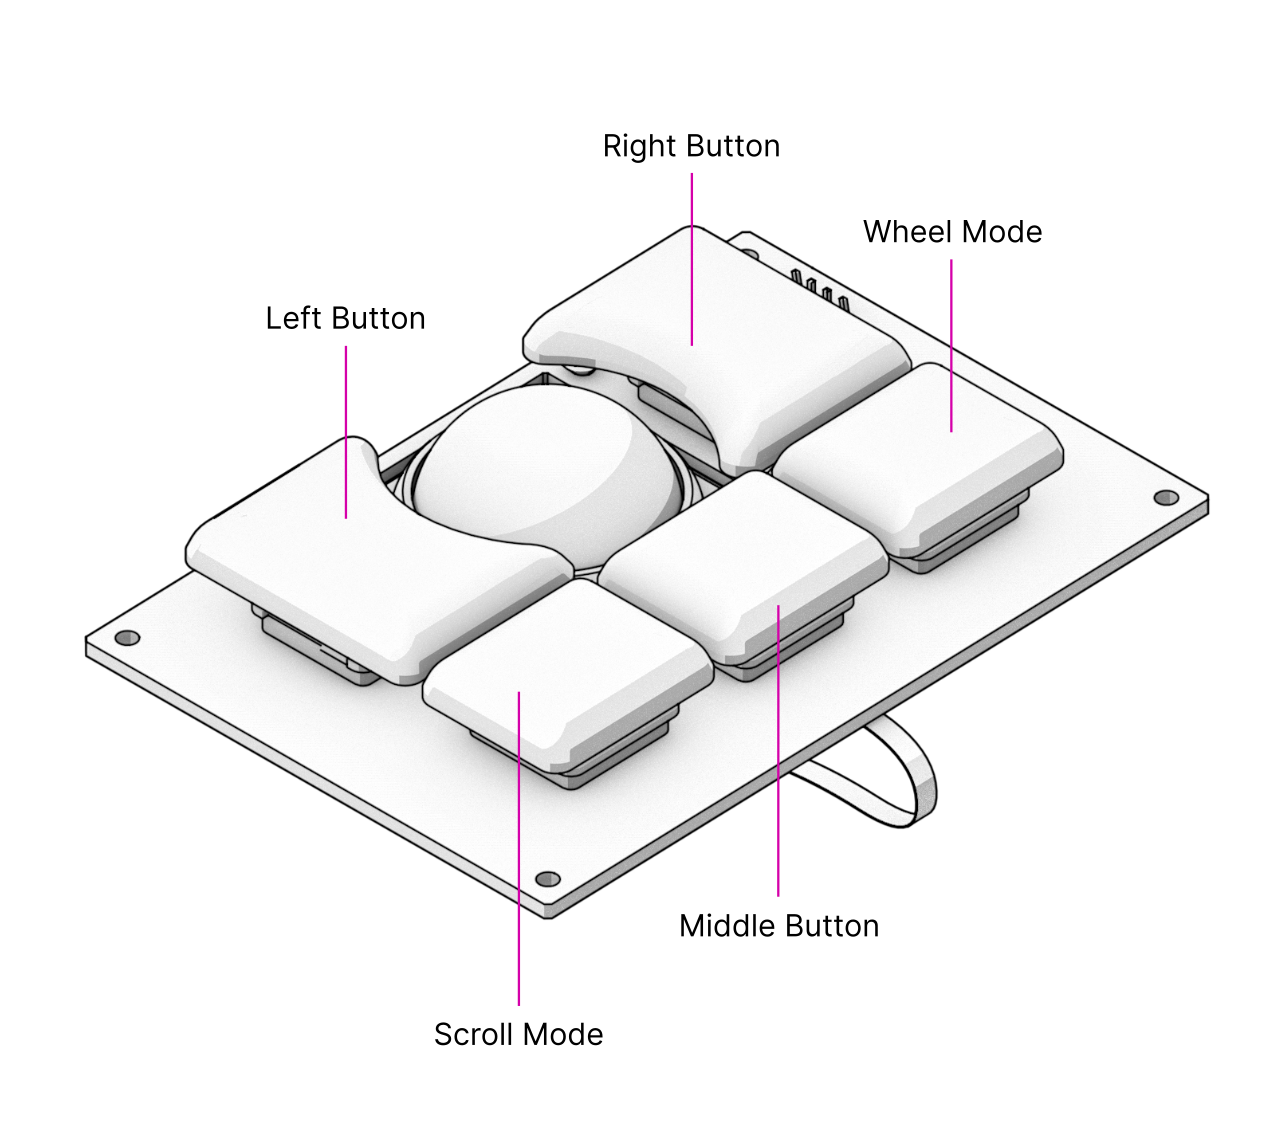
The trackball works like a mouse with three buttons (left, middle, and right click). Roll the ball to move the cursor. In addition to the standard mouse buttons, the trackball also has two Scroll Mode buttons. Holding down either while moving the ball will scroll the currently focused content. Pressing both Scroll Mode buttons together will turn on Sticky Scroll Mode, so that you can scroll through a longer text without needing to hold down a button.
Trackpad
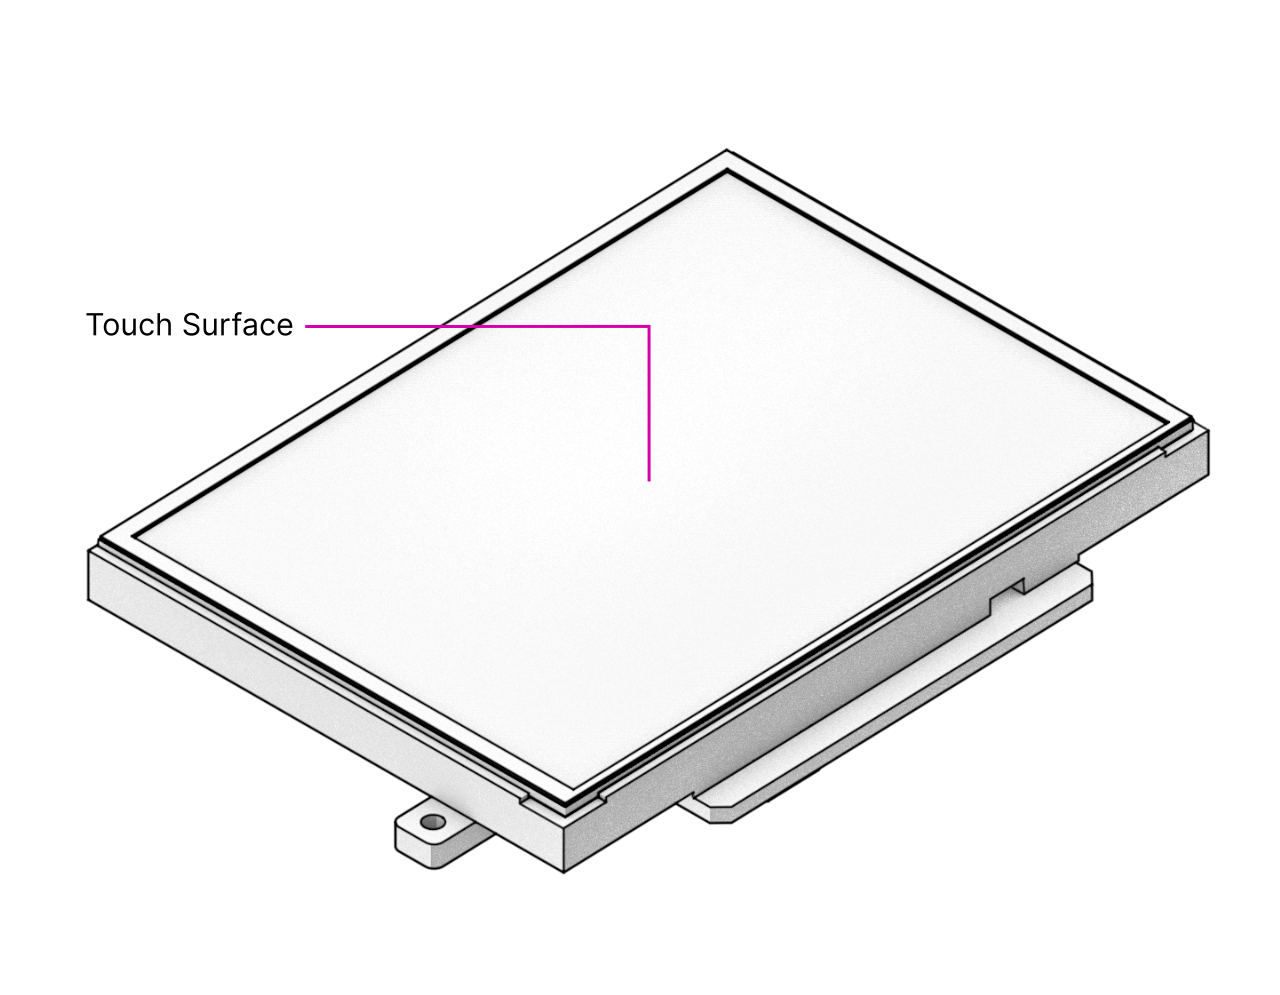
Unlike the trackball, the trackpad doesn’t have any buttons. Slide one finger across the surface to move the cursor. Tapping with one finger acts like a left mouse button click. Slide two fingers across the surface to scroll in any direction. Tapping with two fingers performs a right click. To click and drag, use three fingers. Tapping with three fingers is equivalent to a middle click.
